Kevins Sourdough Protocol
I’ve tried this many different ways. This is the crowd-pleaser.
Author: Kevin Coffey
Tips
I’ve read a number of books, watched many videos, and thrown away many failed attempts. Making good sourdough comes from experience (read: failures). My best advice I can give you is: don’t give up. It will probably be hard at first. Really observe what your bread is doing. Keep a journal. Write down everything you do and see so that when something goes wrong you can point to what you changed as a possible culprit. And with that, don’t change too much each time. Only make small tweaks to your recipe or protocol each time so that when something does go wrong (or right!), there will only be a few changes to evaluate.
King Arthur has a great introductory page that frankly I wish I had found when I started. If you really want to get into it read Tartine Bread. In addition to being a great instructional reference, this book also touches on the central role that bread has had in cooking and in our lives for millennia.
The most important part here is to have a strong, active starter culture. I like to feed mine no more than 12 hours before I start a loaf. You should see lots of bubbles in the starter and it should have a very light and open structure.
I use a stand mixer because I’m lazy, but you can do all this with common kitchen tools.
Ingredients
- 200 grams active sourdough starter
- 250 grams water (room temperature)
- 400 grams bread flour (all-purpose is ok too)
- 8 grams salt
Directions
- Combine the water, salt, and starter in a large mixing bowl. The consistency here will be pretty stringy but that’s ok.
- Begin adding the flour in small portions until a dough forms. This recipe is a little too sticky to knead, but it’s possible. Just make sure to keep the dough moving so that it doesn’t stick. A dough scraper is a handy tool here. At this point I put on the dough hook and let the mixer run at low speed for about 5 minutes
- Leave the dough in the bowl for 4 hours. Do a stretch and fold maneuver every 30 minutes.
- After bulk fermentation, form the loaf into a boule and place, upside down into a lightly floured banneton. Place in the fridge, loosely covered, for 8-10 hours.
- Take out of the fridge and allow the bread to rise, uncovered, for about 4 hours. This part is a “feel” thing that you’ll have to develop. The rule of thumb is that the loaf should approximately double in size. If you’re able to push your finger into the dough and it only barely pushes back, then it’s ready for the oven.
- Pre-heat the oven to 450°F. This part is important. The oven needs to be nice and hot for the bread to get that initial “spring” after you put it in. It also helps to make the inside of the oven very humid, so that the outer skin of the loaf remains pliable and stretchy. To achieve this I boil some water (a quart or so) in a kettle and pour it into a dish on the bottom rack of the oven just before preparing the loaf to go into the oven. Squirting some water on the hot sides of the oven works too.
- For this part, you should try to move quickly. The dough is like a sponge with a thin outer skin that is keeping in all that carbon dioxide. Handling the dough too roughly or leaving it sit too long (more than a couple minutes) will allow it to deflate and you’ll end up with a flat loaf. Turn your banneton over onto some parchment paper on a peel if you’re baking on a stone or a cookie sheet if not. Score the top of the loaf using a razor or a lame. Give the dough a light spritz of water and slide it into the oven.
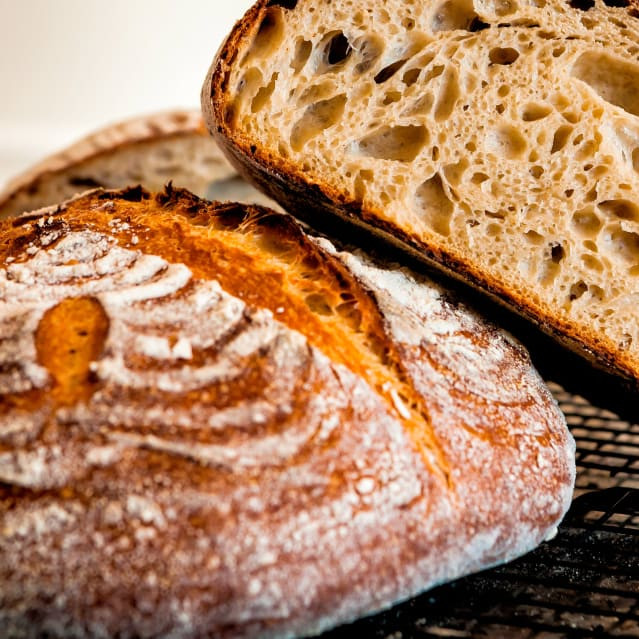
- After 35 minutes, take it out and let it cool. Resist the urge to slice into it hot. When the bread first comes out the crust is very hard. Giving it 15-30 minutes too cool not only prevents 3rd degree mouth burns but also gives the moisture in the loaf a chance to even out.